Let’s lay the keel for our first vessel.
Part 1: Commissioning Your First Sloop
- Current Rank: Seaman
- Objective: To use the Sails.js blueprints to construct and launch your very first application, a simple, elegant sloop ready for its maiden voyage.
The Captain’s Briefing (Background and Theory)
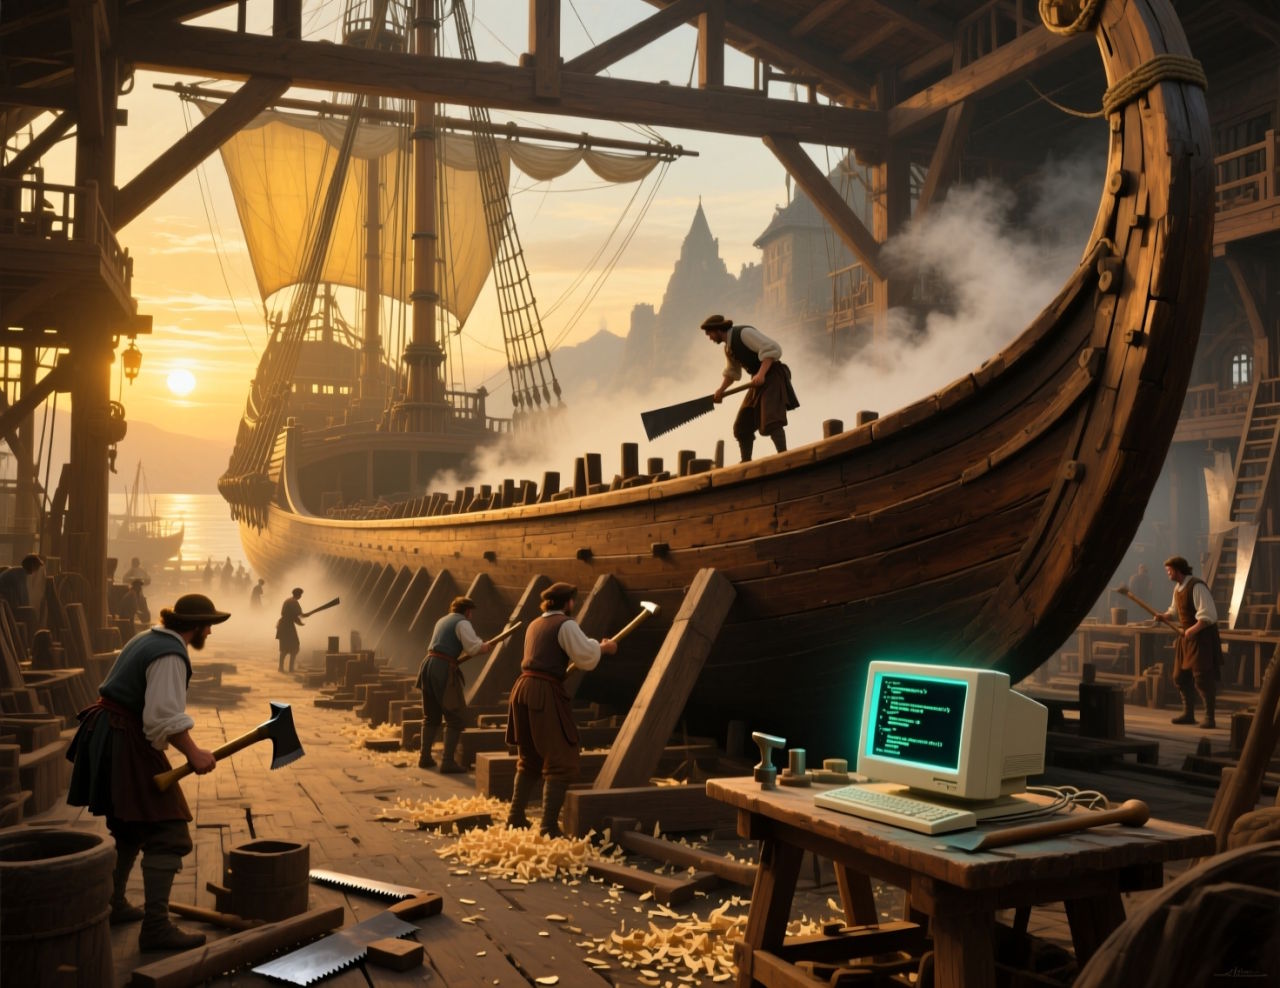
Welcome to the main shipyard, Seaman. Your theoretical training is over; it’s time to get your hands dirty. In this module, we will take the Sails.js blueprint you acquired and command the shipyard to construct our first ship. This process is called scaffolding.
The sails new Command: Laying the Keel
The sails new <your-app-name> command is your first order as a shipbuilder. When you issue this command, Sails acts as your master foreman. It doesn’t just create an empty folder; it scaffolds a complete project structure. It lays the keel, erects the frame, and builds out all the necessary decks and compartments according to the proven MVC blueprint. This saves you from the tedious and error-prone task of creating every file and folder by hand.
Anatomy of a Sloop: The Generated Folder Structure
Once the scaffolding is complete, you’ll have a new directory filled with files and other folders. At first, it might look intimidating, but it’s logically organized like a real ship. Let’s inspect the three most important areas for now:
api/(The Command Deck & Crew Quarters): This is the heart of your application’s logic. All your “crew” live here.controllers/: The bridge, where your Captains (Controllers) will live.models/: The cargo hold, where the manifests for your data (Models) will be stored.helpers/,services/,policies/: Quarters for specialist crew members we will hire in later voyages.
config/(The Ship’s Log & Rulebook): This folder is the administrative center of your ship. It contains all the configuration files. You don’t need to memorize them all, but know that this is where you define your ship’s rules, from routes (routes.js) to database connections (datastores.js) and environment-specific settings.views/(The Public-Facing Decks): This is where you design what your ship looks like to the outside world. It contains the EJS (.ejs) template files that will be rendered into the HTML pages your users see. You’ll find the defaulthomepage.ejshere.assets/(The Paint, Rigging, and Flags): This directory holds all of your static front-end assets. This includes your stylesheets (CSS), client-side JavaScript files, images, fonts, and anything else the user’s browser needs to download. Sails has a powerful asset pipeline that will automatically bundle and prepare these for you.
The sails lift Command: Launching into the Water
A ship in dry-dock is just a sculpture. The sails lift command is the order to “open the floodgates and launch the vessel!” When you run this command from inside your project directory, Sails.js does several things:
- It reads all your configuration files.
- It loads all your models, controllers, and services.
- It starts a web server on your computer.
- It begins listening for incoming HTTP requests on a specific port (the default is 1337).
The famous Sails ASCII art of a ship that appears in your terminal is your confirmation: your ship is now afloat in your local development harbor (localhost).
Key Concepts Checklist
sails new: The command to scaffold a new Sails.js application.sails lift: The command to start the Sails server.Scaffolding: The process of auto-generating a project’s folder and file structure.Project Structure: The purpose of theapi/,config/,views/, andassets/directories.localhost: A hostname that refers to the current computer, your “local harbor.”Port: The numbered “dock” your application is listening on (default:1337).
Mission Log: Quest - “Launch Ceremony”
It’s time to build. Follow these orders precisely to construct and launch the-sea-serpent.
Task 1: Order the Construction
- Navigate your terminal to a directory where you keep your projects (e.g.,
Documents/projects). Run the
sails newcommand to scaffold your ship.sails new the-sea-serpent- You will see Sails creating a list of files and folders. Once it’s done, it will prompt you. Choose 1. Web App for now.
- Navigate your terminal to a directory where you keep your projects (e.g.,
Task 2: Board Your Vessel
Your ship has been built in a new directory. You must now go inside it. Use the
cd(change directory) command:cd the-sea-serpent- Your terminal prompt should now show that you are inside the
the-sea-serpentdirectory. All futuresailscommands for this project must be run from here.
Task 3: Inspect the Ship
- Open the
the-sea-serpentfolder in your favorite code editor (like VS Code, Sublime Text, or Atom). - Spend two minutes just looking at the folder structure. Find the
api/controllers,config/routes.js, andviews/homepage.ejsfiles. Don’t change anything; just get familiar with the layout.
- Open the
Task 4: Launch!
Back in your terminal (make sure you’re still in the
the-sea-serpentdirectory), give the order to launch.sails liftWait a moment. You should see the Sails logo, some version information, and finally, the success message:
info: Server lifted in `/path/to/your/project/the-sea-serpent`
info: To shut down Sails, press <CTRL> + C at any time.

info:                .-..-.
info:
info:    Sails              <|    .-..-.
info:    v1.5.15             |\
info:                       /|.\
info:                      / || \
info:                    ,'  |'  \
info:                 .-'.-==|/_--'
info:                 `--'-------'
info:    __---___--___---___--___---___--___
info:  ____---___--___---___--___---___--___-__

info: Running in development mode.
info: Link to your app: http://localhost:1337
Task 5: The Maiden Voyage View
- Open your favorite web browser (Chrome, Firefox, etc.).
- In the address bar, type
http://localhost:1337and press Enter. - You should see the default Sails.js welcome page. This page is being served by the Sails server you just started!
To stop the server, go back to your terminal window and press
CTRL+C.
Mission Debrief (Review & Outcomes)
Congratulations, Seaman! You have successfully commanded the construction and launch of your first vessel, the-sea-serpent. It is no longer just a collection of files; it is a living, breathing web server floating in your local harbor, ready to receive orders.
You have mastered the two most fundamental commands in the framework: sails new and sails lift. You have also taken your first tour of a Sails.js application’s structure, a layout that will soon become second nature to you.
The ship is afloat, but it currently has no rudder. It can only sit at the dock. In our next part, we will step onto the bridge and learn how to steer.
Rewards
- +100 Doubloons
- Achievement Unlocked: You’ve started your server for the first time. The shipyard crew raises a banner in your honor!
- Badge Earned:
Hoist the Colors🚩
- Badge Earned: