Aye, Captain. The ship looks magnificent, but its cargo hold is empty. A ship with no cargo has no purpose. It’s time to learn how to manage our treasure. This is the most critical part so far.
Part 4: Stocking the Cargo Hold (Models, Associations & Validations)
- Current Rank: Boatswain
- Objective: To define, store, retrieve, and protect your application’s most valuable asset: its data, using Models, the Waterline ORM, and the magical Blueprint API.
The Captain’s Briefing (Background and Theory)
This module introduces the ‘M’ in MVC: the Model. The Model is the single most important part of any data-driven application. It’s not just the data itself; it’s the definition and rules for the data. It’s the manifest that dictates what kind of treasure we can store, what it’s called, and how much it’s worth.
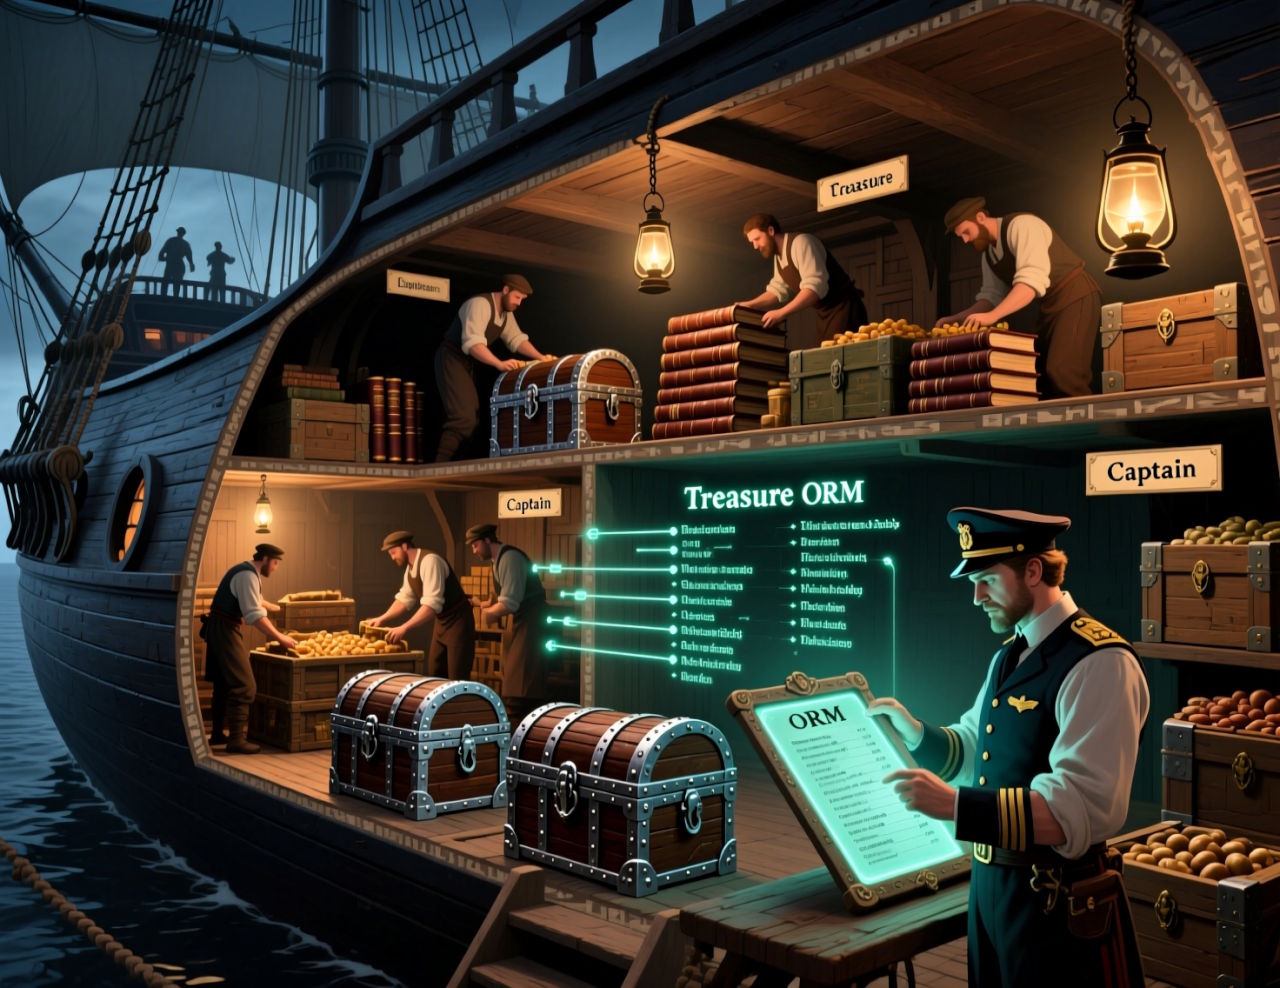
Waterline: The Universal Quartermaster
In Sails, your interface to the database is an incredibly powerful tool called Waterline. Waterline is an ORM, which stands for Object-Relational Mapper.
Think of it this way: there are many different types of vaults in the world (databases like PostgreSQL, MySQL, MongoDB, etc.). A normal Quartermaster would need to learn the specific, complex instructions for each one. But Waterline is a universal Quartermaster. You give Waterline simple commands in plain JavaScript (e.g., “Store this treasure chest”), and Waterline figures out how to translate that into the correct command for whatever vault (database) you’re currently using. By default, Sails uses a simple, file-based database called sails-disk which is perfect for development. Thanks to Waterline, you can switch to a powerful production database later without changing a single line of your application code.
Models: The Cargo Manifest
A Model is a file you create in api/models/ that serves as a manifest for a single type of data. If we want to store treasure, we’ll create a Treasure.js model. This file defines the attributes of a Treasure—the properties that every piece of treasure must have.
// api/models/Treasure.js
module.exports = {
  attributes: {
    name: { type: 'string', required: true },
    value: { type: 'number' },
    location: { type: 'string' }
  }
};
Here, we’ve defined that every Treasure record will have a name, a value, and a location.
The Blueprint API: Your Automated Crane System
This is where the magic of Sails truly shines. Once you define a model, Sails automatically equips your ship with a set of fully functional cargo cranes, ready to handle that data. This is the Blueprint API.
Without writing a single line of controller code, by simply creating the Treasure.js model file, Sails instantly creates a set of API “routes” for you. These routes allow you to perform all the basic CRUD operations (Create, Read, Update, Delete) on your treasure:
POST /treasure: Create a new treasure.GET /treasure: Read (find) a list of all treasures.GET /treasure/:id: Read (find) one specific treasure by its uniqueid.PATCH /treasure/:id: Update a specific treasure.DELETE /treasure/:id: Delete a specific treasure.
Associations: The Trade Network
Rarely does data exist in isolation. A treasure belongs to a captain. A captain commands a ship. These are associations. Waterline makes it simple to define these relationships directly in your models. A one-to-many association, for example, lets one Captain model own many Treasure models.
Validations: Guarding the Vault
You don’t want someone stocking your hold with lead painted to look like gold. Validations are rules you add to your model attributes to ensure data quality. For example, you can require that a treasure’s name is always present (required: true) or that its value must be a positive number (min: 0). This is your first and most important line of defense against bad data.
Key Concepts Checklist
Model: The definition of a data structure (api/models/).Waterline: The ORM that talks to the database for you.sails-disk: The default development database.Attributes: The properties of a model (e.g.,name,email).Validations: Rules on attributes to ensure data integrity (e.g.,required,isEmail).CRUD: The four basic data operations: Create, Read, Update, Delete.Blueprint API: Automatically generated CRUD routes for your models.Associations: Defining relationships between models (e.g., one-to-many).sails generate model: The CLI command to create a new model file.
Mission Log: Quest - “The Treasure Fleet”
It’s time to build our treasure manifest and establish ownership. We will create Captain and Treasure, link them together, and add rules to protect our hoard.
Task 1: Sign Up the Captains (Create Captain Model)
In your terminal (inside the project), run the generator:
sails generate model CaptainOpen
api/models/Captain.jsand define its attributes:module.exports = { attributes: { name: { type: 'string', required: true, unique: true }, rank: { type: 'string', defaultsTo: 'Captain' }, // Add this association! treasures: { collection: 'treasure', via: 'owner' } } };The
treasuresattribute sets up the “one” side of our one-to-many relationship.
Task 2: Define the Booty (Create Treasure Model)
Run the generator:
sails generate model TreasureOpen
api/models/Treasure.jsand define its attributes, including validations and the other side of the association:module.exports = { attributes: { name: { type: 'string', required: true }, value: { type: 'number', required: true, min: 1 }, location: { type: 'string', defaultsTo: 'Unknown' }, // Add this association! This links back to the Captain. owner: { model: 'captain', required: true } } };
Task 3: Stock the Hold (Interact with the Blueprint API)
- Restart your server with
sails liftto load the new models. - We’ll use
curlfrom a second terminal window (or a tool like Postman) to act as our API client. Create a Captain:
curl -X POST http://localhost:1337/captain -d "name=Redbeard"Sails will respond with the new captain object, including its unique
id(e.g.,{"id":1, ...}). Note this ID!Create a Treasure FOR that Captain: (Replace
1with your Captain’s ID if different).curl -X POST http://localhost:1337/treasure -d "name=Cursed Doubloons&value=5000&owner=1"Try to create invalid treasure: This should fail because of our validation rule (
valuecannot be 0).curl -X POST http://localhost:1337/treasure -d "name=Fool's Gold&value=0&owner=1"Sails will respond with an error message, proving our validation is working!
- Find all captains and their treasure: Open your browser and navigate to
http://localhost:1337/captain?populate=treasures. The?populate=treasurescommand tells Waterline to also fetch the associated treasures. You will see Captain Redbeard and an array of all the treasure he owns.
- Restart your server with
Mission Debrief (Review & Outcomes)
Outstanding, Boatswain. The cargo hold is no longer empty, and the manifests are in order. More importantly, the vault is secure.
You have now mastered the core of the Sails framework. By simply defining models, you have unlocked a massive amount of functionality. You’ve seen how Waterline’s validations protect your data integrity and how associations create meaningful relationships. You leveraged the Blueprint API to perform complex database operations without writing a single line of controller logic.
This is the power of “convention over configuration.” Because you followed Sails’ conventions, the framework did the heavy lifting for you.
Rewards & Promotion
- +250 Doubloons
- Achievement Unlocked: You have defined, created, and protected data using the framework’s most powerful features. The blueprints are now yours to command.
- Badge Earned:
Blueprint Architect🏗️
- Badge Earned:
- Promotion to: Navigator
You’ve earned your new title, Navigator. You can now chart a course and manage the cargo. The ship is truly taking shape. Next, we will organize our crew for more complex missions.